Showing posts with label English for preschoolers. Show all posts

9.3.20

Prewriting with flashcards and...a fly swatter


Hello everybody! Long time no see. This is going to be a quick post about a nice activity I came up with the day I bought a fly swatter. As you can see from the picture it's a special one ;)

First thing first, when we came back from the Christmas holiday I used it to help children recall single sounds with the help of phonics cards. What I noticed is that it is better to select a few cards each time, because for some of our young learners it might feel overwhelming to have to choose among too many options.

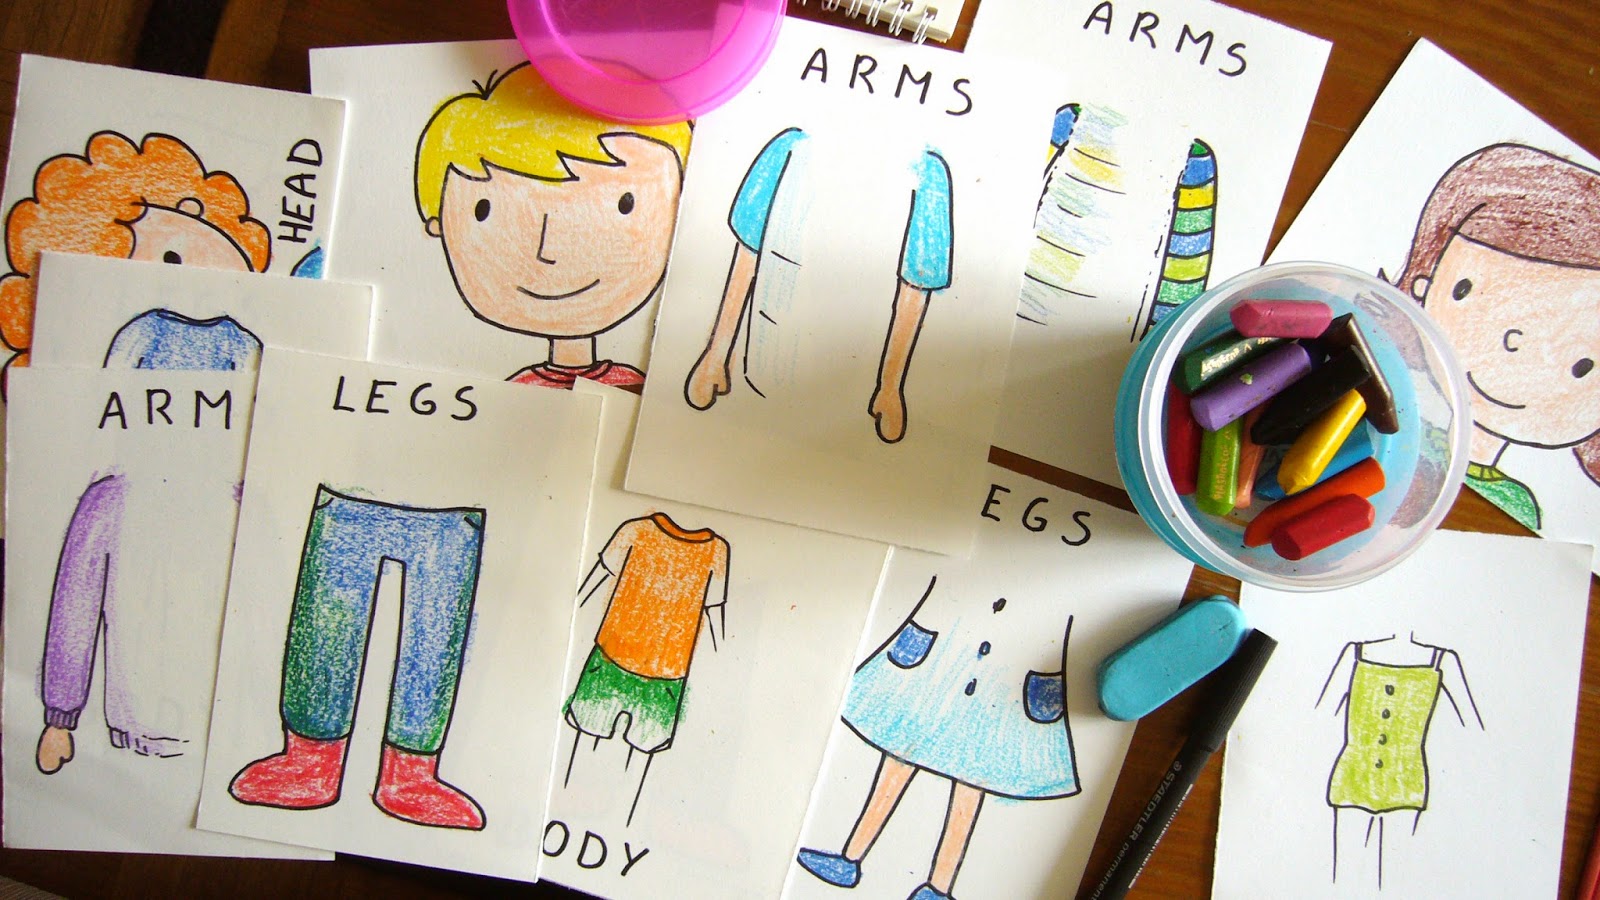
The other activity I've come up with, after studying some of the most common consonant digraphs, ch, sh, and th, is about writing words which contain these sounds, as you can see. In the first phase I chose words containing short vowel sounds, and in the second one I used vowel digraphs. This way we reviewed and worked a bit more our phonetic awareness.

This second activity is inspired by the Montessori method for teaching reading and writing, but I had to adapt the way of proposing it since I’m working with second language acquisition:

First, on a big surface, in my case made up of 3 double desks, I displayed 3 rows of cards: row number 1 contained simple consonant sounds, row number 2 contained the short vowel sounds and the third row contained consonant digraphs.
Then,  while everyone was busy colouring a sound worksheet, I called 2 children and told them to sit next to me at the big table.

Once sitting, I told them a whole short word containing 3 of the sounds displayed on the table, one from each row. Then, I retold the same word, cutting it into its different sounds and passed the swatter to the kid sat next to me. One sound each, they had to 'write' the word selecting the correct cards with the spanker. Once the 3 chosen cards were selected and placed in the right order in front of them, we read the word out loud again.

Designed this way, this activity will allow every child to concentrate and listen better to what you're saying, making it easier for them to be right, which has a good influence on their self-esteem and self-image. Furthermore, you will be able to spot and correct any difficulty in hearing the different sounds properly. For instance, they might confuse the sound sh with the sound s, the sound th with d, or even the sound ch with t. 

In a second moment I substituted the short vowel sounds with vowel digraphs such as ai, ee, ou, oo.


More about phonics games and activities here

-->quiero leer este post en español

9.1.20

More exercises to encourage auditory discrimination

Some time ago, I wrote about the auditory discrimination of 2 vowel sounds that are difficult to distinguish by Spanish speakers: the e and the i. Several months and several phonics later, I am going to propose more discrimination exercises that can be worked on with your students to get them used to recognizing them.

Among the vowel phonemes we can focus on the discrimination between a and u, and in a second moment we will add the o. It is important to choose short words of 3 or 4 letters with only one vowel sound so that our students do not get confused. That means words such as cat, cut, cot, or pat, put and pot.


Other vowel sounds that we worked on this year were the i and the digraph ee, so that the children can see that the first one is a 'short i' and the second one is a 'long i'. If you accompany the words with the movement of both hands, moving them closer or further away depending on which sound the words have, you will help students to notice the difference even more. Some examples are: sheep (hands away) and ship (hands closer) or beet and bit, feet and fit, etc.

Finally, these last days we saw the digraph
oo that can also be pronounced by lengthening or shortening the sound as in moon /ˈmuːn/ or in hook /ˈhʊk/. Again we use our hands to highlight which is the 'long u' and which is the 'short u', when we pronounce the words, to help the little ones to better grasp the difference. Other words with /uː/ (the 'long u') are broom, spoon, food, while some words with /ʊ/ (the 'short u') are cook, foot, book, etc.

Among the consonantal sounds, we have obviously worked on the b and v, which are two phonemes that overlap  in the Spanish language, creating problems when it comes to writing, in both languages. Finally, the latest phonemes we saw were w and g which are also problematic, but, in this case, when it comes to pronouncing them: many children when they read the word wood aloud, would pronounce it good. You should insist on the positioning of their lips and, if nothing works, you can always give them the example of Huelva or huevo, so that they can grab it immediately. 

But... How do we work them out? Easy, peasy. At the moment, since my pupils are third graders who don't have to write anything yet, I just concentrate on the auditory and visual features. I usually use cute paper cups to which I apply a white label. On the label I write the sounds in large letters, both upper and lower case, and I also draw one or two pictures of words that start or contain the same sound. As you can see in the picture, I use pompoms of different types: these are all glittery for it was Christmas time, but, of course, I have  pompoms for workdays, too :o)

I use two different exercises: the first one consists of sitting 2 children (or 3 depending on the number of cups) in front of all the others (at a distance of 2 o 3 meters). These 2 or 3 hold the cups well visible so that their classmates, who must also be sitting, can place their pompoms, in the correct cup once a pompom has been distributed to each one, when they hear the word. 

In the second activity I do not use pompoms, instead, I divide the class into two groups and sit them facing each other at a certain distance. I alternate words that contain the sound I want to work that session with others that do not have it, and the children, when they hear the right phoneme, have to swap places with the one in front of them. This is just an adaptation of the game 'Change places if...' and I have only been able to use it with the 5-year-olds, because it seems that the 4-year-olds are not willing to give up their seats under any circumstances 😀

--> Read this post in Spanish


8.2.19

Blending: first steps towards reading


Hi there! The public examination to become a Primary school teacher is behind the corner here in Spain. That means that studying along with working leaves little free time to write blog posts. However today I have decided to take a break and here I am to tell you how the Jolly Phonics course proceeds.

Back from the holidays we finished the second group of sounds /c/ /k/ /e/ /h/ /m/ /r/ /d/ and started the third. At the same time I decided that it was time to start blending and I'm going to tell you how I decided to introduce it. But first I'll explain what blending is and how it influences the acquisition of reading and writing skills.

We know that the main objective of the synthetic phonics methodology is to teach how to associate phonemes (sounds) to graphemes (graphic sign). At first, they are taught one by one, and then they are joined together to form words. For example, once the vowel phonemes, such as /a/ /i/ /e/ /o/ /u/, and some consonant phonemes, such as /p/ /n/ /c/ and /t/, are seen, students are presented with words formed by the combination of these phonemes: pan, sit, ant, cat, cap, net, pet, nut, and so on. Blending is the process of pronouncing the sounds of a word individually and finally bringing them together to pronounce the whole word. That is: /p/, /a/, /n/ and children have to say the whole word -> pan.

At first it may be difficult for them to recognize the word, but with a little practice during every session their ability improves, and each time they gather the phonemes faster.

How do I do it? As my little group is very lively, at the moment, to be listened to for more than 8 seconds, I'm using Jolly Phonics Read and See books. They are small books where there are words followed by a flap that I only lift once the children have guessed which word they have just heard, underneath there is the image that corresponds to the word pronounced. It's a trick that keeps them attentive because of the surprise effect, which always works with younger children, and thanks to the attention they naturally pay, they learn.

Another material that I use are the Jolly Phonics flash cards and some cards that I have cut from the activity books I had at home. I do try to make sure that the word is always accompanied by the corresponding picture; first of all because it develops reading comprehension and then because the drawings are pretty and, as Maria Montessori said, children have to be given pretty things to create an affective link with learning.

And now, the big question... why do we teach them blending?
I suppose the answer has already been guessed right: once the children have learned to recognize the words broken down by the teacher, they will be equipped to start synthesizing words on their own, which means they will be able to read.


More about reading and writing.

--> Quiero leer este post en castellano 


18.6.17

Rhyme Robber: the game that helps children improve their listening skills

Today I'm going to tell you about one of my favorite board games: Rhyme Robber.It's produced by Orchard Toys, the British company I mentioned in a previous post,  and it's a perfect filler for these last hot days of school.

The most remarkable ESL purpose of this game is to develop listening skills at a very young age through sound recognition and rhyming skills, which, as I already wrote here, are crucial in order to build effective communication skills as adults.

In the game box you'll find 4 rhyme robber boards showing a child with a robber's swag bag (1 for each player), 48 rhyme cards and a rhyme guide board, where all the pictures and their respective words are grouped by rhyming sounds and colors.

Each player is given two cards, which they hold in their hands without showing to anybody else, then 4 more cards are placed face up in the centre of the table, while the rest of the cards are left face down in a pile next to these.

The youngest player starts and if they are holding a card that rhymes with one of the four cards in the centre of the table, then they can take the matching card while saying, for example, 'rake rhymes with lake', and put both cards face up on top of their robber board in their character's swag bag. If the next player has in their hand a card that matches a card on another player's board, they can choose to take that one, instead of one from the centre of the table. In any case once a player puts down a card, they have to take another one from the pile so that they are always holding two cards. The game ends  when all 48 cards have been stolen or no more cards can be stolen.

 
The game is especially effective with preschoolers and first graders straight out of the box: you'll only have to be there to read the names under the pictures out loud to help children recognize the rhyming sounds. Very small kids won't love the fact that other players can steal their cards so I'd suggest not insisting that they follow that rule, especially since we should focus on the development of listening skills more than anything else.
 
Once I noticed that older kids have stronger rhyming skills I suggested an extension of the game: through reading rhyming books I encouraged my students to look for new rhyming word families which they would then copy onto paper, cut out in circles, and added to the basic game in order to make it last longer.

My students' favorite books are ones written by Dr Seuss, the author of Green Eggs and Ham, The Cat in the Hat, One Fish Two Fish Red Fish Blue Fish, The Lorax, Horton Hears a Who! and many more, as well as others by Julia Donaldson such as The Gruffalo, What the Ladybird Heard, Room on the Broom, The Snail and the Whale,  A Squash and a Squeeze among others.

Click on the links to Orchard Toys, Seussville and Julia Donaldson websites to entertain your childish soul as much as it needs :)

--> Quiero leer esta entrada en castellano


3.11.15

Easy and Effective Flashcards Games Ideas for Preschoolers

Flash cards… These Cards with a word and/or a picture on them that teachers use during their lessons, and which are particularly useful, for teaching a foreign language without using the children's first language. (Check out chapter six of my guide for more details.)

So, you're a teacher or parent who's fresh off the boat and someone has suggested that buying flashcards might help you grab your young learners' attention during English classes. You went out and bought a set and... now what?

Sometimes, especially at the beginning of the school year when I show my students the first set of flashcards, during the first classes, they become very excited and there's always someone who literally begs to hold them. I usually let them because I 'm always curious to see how they'll use the cards. As children usually tend to repeat what they've learnt with their school teacher, sometimes they come out with cool ideas I can reuse, but, unfortunately, when it comes to flashcards, they just sit quietly and start to slowly show one card at a time, asking 'What's this?'. If you are in a  classroom  with  the  desks  organised  in  rows  without  much  space  for  moving  around,  I  imagine  that's  the  most  obvious way to use flash cards. Even so, I think it's worth exploring some more drilling games you could use to make the most of your flashcard sets in order to grab your students' attention and speed up their learning process.

So here's list of flash cards games for  children who can't read yet:

Flash!
Choose the flashcards you're going to use and hold them so that the children can't see what's on them. Pick one card and turn it around very fast, so that students only have enough time to take a peek at it before you turn it back round.  Ask what it was on the card and if nobody answers, show them the flashcard again, but a little more slowly than the first time. Repeat until somebody gives the right answer. Once shown how to proceed, you could also call on some of your students and let them be the ones to turn the cards round quickly.

Slowly!
Obviously this game is the opposite concept to the one above. Choose the flashcards you're going to use and hold them so that children can't see what's on them. Pick one card and turn it round very slowly so that the kids will have to pay a lot of attention to be the first to guess what's represented on the card. Again, once shown how to proceed, you could also call on some of your students and let them do the trick.

Point to…! or Walk to…!

Walk around the classroom sticking a set of flashcards to the walls round the classroom. Get the children say the names as you stick them up, then say 'point to the rabbit!' or any other item shown on the  cards. The children listen and point to the correct flashcard as fast as they can.

"The Walk to…!" - version allows the children to stand up and go over to the card. However, in order to avoid a crowd of 24 kids pushing and pulling (and screaming and crying :o) ) to touch (and possibly destroying it) the only one card in the room which shows what you've just called out, I'd definitely suggest using at least 3 copies of the same set of cards, spread out all over the classroom.

What's missing?
Stick a set of flashcards on the board. Have the children say the names as you do it. Then say 'Close your eyes!' and once their eyes are closed, take  one card off the board. At that point say 'Open your eyes! What's missing?' and let the children guess the name of the missing card. The funniest part of this game is that  the second time you say 'Close your eyes', the children will start to cheat. Pretending to be a little upset and surprised (yes, just like a clown), call out the name of each cheating little monkey and tell them to reeeeaaaally close their eyes this time. You'll see how easy it is sometimes to make a child really happy.

Kim's game
Stick 8-10 flashcards on the board, eliciting the names. Give your students 1 minute, or less, to look in silence and try to memorize the flashcards. Then remove all the cards from the board and finally ask them to say the names they can remember. While they're telling you the right answers, repeat the names of the items and stick the cards back up on the board, in the same order they're being called out by the kids.

Flashcard chain
Sit in a circle with the children and with your set of cards.  Pass the first card, e.g. cheese, and ask a question 'Do you like cheese?' encourage them to answer 'Yes I do/ No, I don't'. After answering, the child asks the same question while passing the flashcard to the next child and so on round the circle.

This game is quite flexible because you can choose different questions depending on what you're currently studying, or you can change the questions for statements, e.g. 'I like cheese' or I don't like cheese' , I would like…, I can…, I have got…, etc.

Another option is to have every single child holds a different card, while the first child says ' I like cheese', holding the card which shows the cheese so that everybody can see it. The second child, who is holding the card with,  let's say, the lettuce then says: 'I like cheese and lettuce'. The third child, who's holding the card showing ham, says: 'I like cheese, lettuce and ham'. Keep playing until the last child in the circle has mentioned all the cards.

WARNING! Always expect some mess the first time you introduce a new game to young learners, because, as they say, practice makes perfect and children need a lot of it. This way, the second time will be a little tidier and quieter and the more you practice and adjust the game to your students needs and characteristics, the smoother the game will go.


--> Quiero leer esta entrada en español